Wednesday, July 23, 2014

It's Back!! I'm so Happy!

Yay!! Starbucks has brought their old lemon loaf back.


I know this isn't news but I am thrilled that I can once again enjoy my favorite white chocolate mocha and a lovely piece of lemon loaf on occasion.  In case you couldn't tell, I was not a fan of the newer one they brought out a few months ago.  I even tried to make the copycat version that I saw on Pinterest...yuck!  

Seeing this slice of lemony goodness again just makes my day.  It's the little things that make this girl happy!

Happy Scrapping!
 

Tuesday, July 22, 2014

Welcome

I wanted something to make the front of my house just a bit different that the others around us. We also  have a very boring white front door and I wanted to add something to it to make it less boring.   I liked the look of the vinyl welcome signs I was seeing on front doors all over Pinterest.  So I decided to make my own.


I measured the space I had to work with and designed it out on my Cricut Gypsy.  I had to use the 12x24 size mat for it.  I used the Calligraphy Collection font and welded the letters together.  Once my Cricut was done cutting the lettering from black vinyl, I had to weed out all the useless bits and was left with a pretty welcome sign for my house.  I used transfer tape to adhere the vinyl to the door.  The nice thing is when we move, I can just take it down with no fuss.  It will peel off with no problem.

I actually received a nice compliment from our housing manager (military housing) about it.  *smiles*

Happy Scrapping!
Diane

Monday, July 21, 2014

Goofy Layout

One of my favorite Disney characters is Goofy.  There is just something about his complete klutziness and well, Goofiness that reminds me of someone....Me!  From the crazy laugh to tripping over himself to his complete duh moments, everything about him is just perfect.

If we get an opportunity to see Goofy when we are at Disney, we take it.  Our trip to Disneyland in 2010 was no exception.  On our way to Soarin', we caught Goofy just coming out to visit so we immediately got the girls over to take pictures with him.

For this layout, I used the Mickey and Friends Cricut cartridge.  The title can be found on page 94 of the cartridge booklet.  This one was in the Layers: Outfit/Tongue section.  I used red card stock and shiny silver card stock from my stash.  


The arrows were from a chipboard set I got from Stampin' Up! a long time ago.  I used my Stampin' Up classic ink pad to color the red arrows and a silver paint pen for the silver arrows.  I used lined paper cut to fit for the hand written journaling.  


Tip:  While computer journaling can look nice, especially if, like me, you do not like your handwriting.  It is important, though to do some journaling in your own writing.  It will be important to the people you are making those scrapbooks for someday.


Happy Scrapping!
Diane

Friday, July 18, 2014

Butterfly Paint Chip Card

I have recently started making cards for Operation Write Home.  I really like this organization and think what they do to support our military members and their families is just wonderful.  What they do is send quality, handmade blank cards overseas so our troops can send beautiful cards and letters home to their families.

When my hubby was deployed, we mostly relied on email and phone calls for our communication.  We didn't write any letters back and forth.  I sent a few cards to him and, of course, care packages but no letters.  The immediacy of email was faster and easier.

I recently found some letters (both of them) from earlier in my hubby's career.  It was so nice to read them again.  Hubby's grandfather was in WWII and wrote constantly.  He also drew wonderful pictures on the letters and envelopes.  This was known as trench art and is completely priceless for our family.  Before he passed away many years ago, Hubby's grandfather put these letters in an album for his daughters and grandchildren to be able to see.

Anyway, back to the cards I made.  If you have been on Pinterest at all, you have seen the tons of pins making things using paint chips from the hardware store.  The draw of these is that they are free and make the whole ombre trend easy to recreate.  So I went to the hardware store and picked up some paint samples.


I found a punch I wanted to use for my card, in this case the Stampin' Up! butterfly punch.  This is an old type before they went to the wonderful space saving style they have now.  Still one of my favorite punches though.  I was able to punch two butterflies per color.  I designed the card for three butterflies each.  This gave me two cards for each three-color paint sample.


I broke from my norm and used kraft card stock for the card base and then used a Cuttlebug embossing folder for the pretty butterfly background on white card stock .  I wanted to emboss the butterflies themselves but found that the color came off the samples when I tried to emboss them.  It wasn't a cute look either. So I left the butterflies plain and adhered them to the card with my ATG gun.  When you are placing items onto an embossed background like this, you have to use a good, strong adhesive.  I left the inside blank and decided on no sentiment for the front so the card could be used for any occasion.


I like how this card turned out.  I have made more cards that I will share soon.  If you are interested in supporting our troops and like making nice handmade cards, I recommend Operation Write Home.

Happy Scrapping!
Diane


Friday, July 11, 2014

Distractions!!


I have been trying to get some scrapping done, really I have.


For some reason I have not been as productive as I should be.


The problem couldn't possibly be the two adorable animals that keep appearing by my side.  

Wednesday, July 9, 2014

It's A Small World

"It's a small world after all.  It's a small world after all..."  Now that you have that song in your head I wanted to share a layout I made recently when I took a class through Big Picture Classes.  I took the Stashbusters class with Aly Dosdall.  It was a good way to get motivated to scrap and to use what I have.  Too often, as scrappers, we hold on to certain papers and embellishments waiting for the "perfect" page.  Well, really, there is no reason to hang on to those things.  Use them.  That is what you bought them for.

I had some chipboard shapes from Stampin' Up! that were just sitting in a drawer.  I colored the flower piece with my Stampin' Write Pink Passion marker. The leaves were colored with Garden Green and Green Galore.  I sealed them all with Crystal Effects.    I used a green ribbon that I had in my stash for the stem.

I used Stampin' Up! Designer Series Paper for the patterned layer and I think the solid layer is from DCWV.  I was happy with how well the colors matched up with the two different brands.


I like how this page turned out.  The Crystal Effects gave the flower and leaves a nice shine and a bit of texture that doesn't really show up well in the photos.  The photos are from our trip to Disneyland in 2010.  I am making progress!  LOL  Hey, a positive attitude is always a good thing, right?


Happy Scrapping!
Diane

Tuesday, July 8, 2014

Photo Sorting

I have started the task of sorting through the photos I had printed from Snapfish.  I am a chronological scrapper so I have to put the photos in order by date.  I also like to label them with what the occasion was and if I have any ideas for a title, journaling, colors, or embellishments.  

The pictures spread all over my desk and cutting table.  There was a two year or more time span for these photos so I was having the hardest time trying to remember what was when.  I think I might hire my girls to do the sorting from now on.  


Once the photos are sorted I put them in order in my photo drawer, that I keep close by for the most current photos I need to work on.  I also have a photo box that I got from Michael's for pictures that don't fit in the drawer.  I picked up a bunch of them when they were on sale.  The boxes are good for temporary photo storage as well as storing other scrappy items.  I use one for my roller stamps and one for my brads and Crop-A-Dile

Now that I have my photos and my space is ready, it is time to get scrapping!   Woohoo!

Happy Scrapping!
Diane


Monday, July 7, 2014

Pictures are here!!!


Happy Monday!  I hope everyone had a wonderful Fourth of July. Ours was relaxing, just spending time with family and friends.  Saturday was spent at a family reunion/golf outing.  Hubby gets the chance to golf with his uncles and cousins that we don't see very often and he has a great time.  The girls and I usually hang around the resort pool, just chatting.

My Snapfish order is here!  I have so many pictures to sort through.  I am really looking forward to organizing them and matching with embellishments.


Opening the box!!


Soooo many memories!


I also ordered the 100 "free" prints that I can get every month with the Snapfish app.  I say "free" because they shipping is not free.  It was $8.99.  Which is actually the cost of 100 prints at $.09 each.  So basically I paid for the prints but they were shipped for free. Not really a deal in my opinion.

Anyway, I am going to organize some photos and get some scrapping done.  Have a great Monday.

Happy Scrapping!
Diane


Friday, July 4, 2014

Happy Independence Day!


Happy
Independence 
Day!


This is a photo of my youngest on our first July 4th at West Point.  If you ever get a chance to visit West Point, go!  It is a beautiful area with a lot of history.  And their fireworks display is the best I have ever seen (outside of Disney).

I am taking a break from The Challenge today to spend the day celebrating our freedom with my family.  I will be back to work tomorrow.  I hope you are having a wonderful day, whatever your plans are.

Happy Scrapping!
Diane

Thursday, July 3, 2014

Independence Day Decor

Tomorrow is July 4, Independence Day so I thought I would share a little decoration I made for the house.  I really don't have that much decor that is specific to Independence Day but we do have patriotic decor throughout the house year round.


I made this fun subway art using an art canvas (12x12) I picked up at Michael's, dark blue vinyl that I got in an assortment of colors from Amazon, red and white paint and a crackle medium.  I cut the vinyl using my Cricut Expression and my Word Collage Cricut cartridge.

It was a bit time consuming with the different layers of paint and weeding the vinyl once it was cut.  For those of you who haven't worked with vinyl yet, weeding is the process of removing all of the unnecessary bits from the image.  You know, like the center part from an "O".  All the parts that don't belong on your canvas or wall need to be removed. I use a hook tool I got when I bought my Cricut and the process goes fairly quick (and can be fun, too!) once you get the hang of it.
Anyway, I really like how this turned out and we have this hanging in the family room for all to see.  Once July is over, I will replace it with something else.  I think I might have to spend some time on Pinterest to see what other Independence Day decor I can make.  I will, of course, take pictures and post if I do!

Never fear, I am still working on my scrappy catch-up.  It's a bit slow going right now as I figure out a schedule for me and the kids (and the puppies) now that they are all home for summer break.

Happy Scrapping!
Diane

Wednesday, July 2, 2014

Fast Titles

In my quest to make quick, but nice looking scrapbook pages I have had to turn to my computer to make titles and to quickly journal something about the event I am scrapping.  I have never been big on using the computer for scrapping, other than to look something up or to print a picture or two that I may have missed in my frenzied Snapfish uploads.  Mostly this has been because my scrap space is in a different room (or in this house a different floor) from the computer.  I just never wanted to make the trek to the computer.  Yes, I am that lazy.

Now, for the ease ease and speed of it, I descend the stairs and use the computer when I need to.  Hey, it counts as exercise, right?  Maybe I'll work off a few KitKats in my travels up and down the stairs.

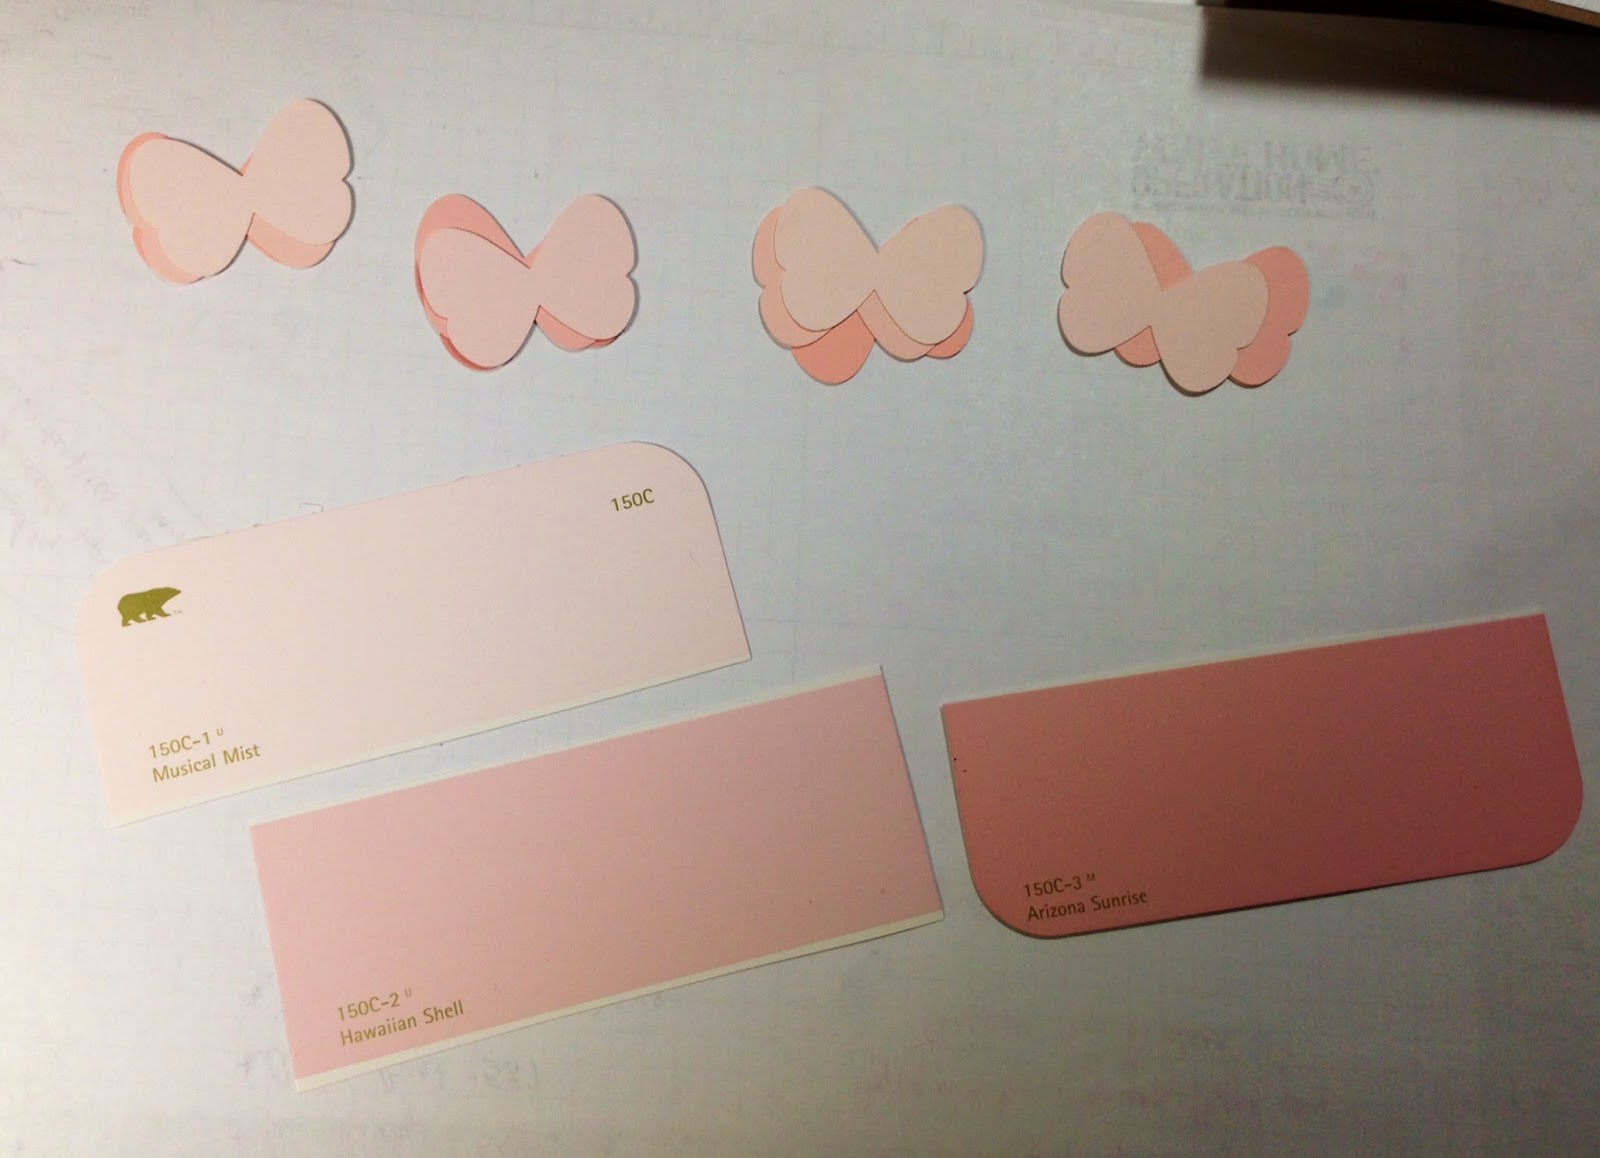
First, I plan out the colors and general shapes I want to use in my layout.

Second, I decide on the title and do a rough draft of the journaling on scrap paper.

Third, I make the trek to the computer and, using Microsoft Word, I design the title and journaling.  I have downloaded some fun fonts onto our computer so I enjoy trying different fonts and sizes to see what will work with what I have in mind for the layout.
When I do this I also make a bunch of blank lines that I can use later for handwritten journaling when I want to.  This way I am not wasting card stock and I can use them to make my own journal boxes when I want them for a layout.

Last, I print out the document on card stock.  So far I have only used white as it's handy and works with the layouts I am working on.

 This picture shows one such title and journaling I have printed out from a document I created on the computer.
I like this method right now because it saves me from having to buy a lot of letter stickers or having to design and cut titles with my Cricut machine or Silhouette.


This little cutie car I cut with my Cricut using the Going Places cartridge.  I don't use this cart that often so I tend to forget all the cute travel images on it.  The cut was very simple, with just the top layer and a shadow. I added some shiny silver card stock behind the grill and headlights to give it a bit more dimension.  I then used some gem brads I had in my stash for the headlights.

I might go back and add some vellum for the windshield.  I just thought of that while writing this post.  :)

I hope these tips help you in your scrappy catch up!  

Happy scrapping!
Diane

Tuesday, July 1, 2014

The Scrappy Challenge Starts Today!!

It is July 1, 2014 and Day 1 of The Scrappy Challenge!

I have my ATG gun loaded and a bag of KitKats on standby and plenty of Pepsi's in the fridge.  I am ready to scrap!

For the record, my Pepsi is only on the desk for purpose of this picture. Normally it lives in its cup holder on the side of my desk.

The ruler on the bottom part of the picture is an old tape measure that I glued down to the edge of my desk.  I saw this idea on (like most of the things I do) Pinterest.  The tools on my desk are my ATG gun, Cutterpede scissors (great for fussy cutting or trimming of embellishments), Cutterpede rotary paper trimmer, Stampin' Up! journal pen, Stampin' Up! corner rounder, and of course my junk food of choice for the time being KitKats.  These are my most used tools.  In a future post I will show some of my other toys.
Time to get to work!
Happy Scrapping!
Diane